SV Solutions LOGO.

How to Hang an LED Wall:
A Step by Step Guide

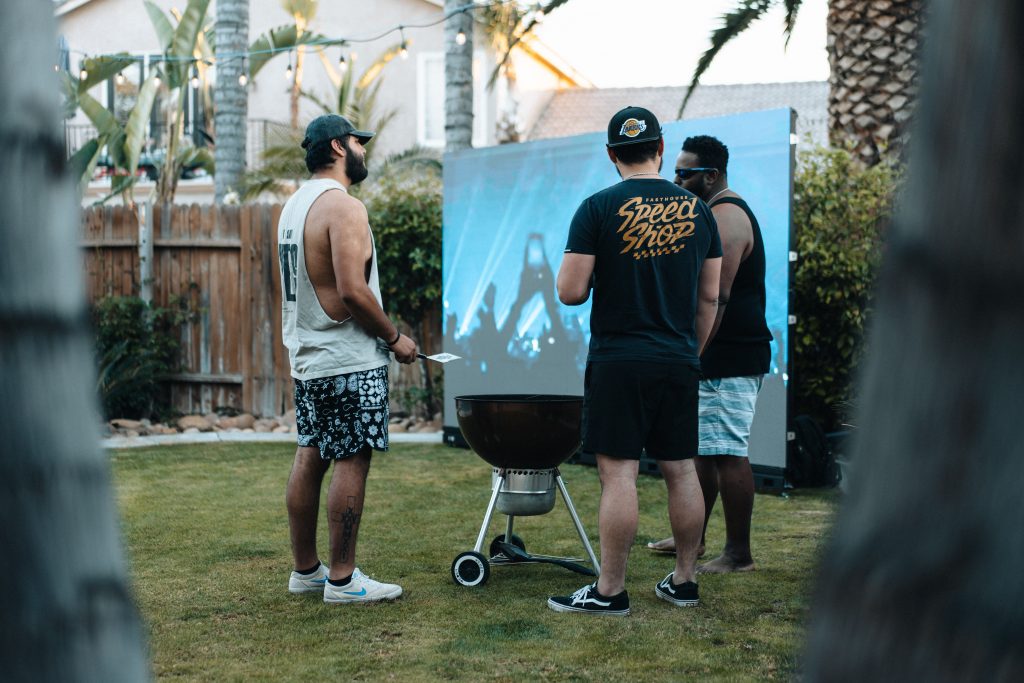
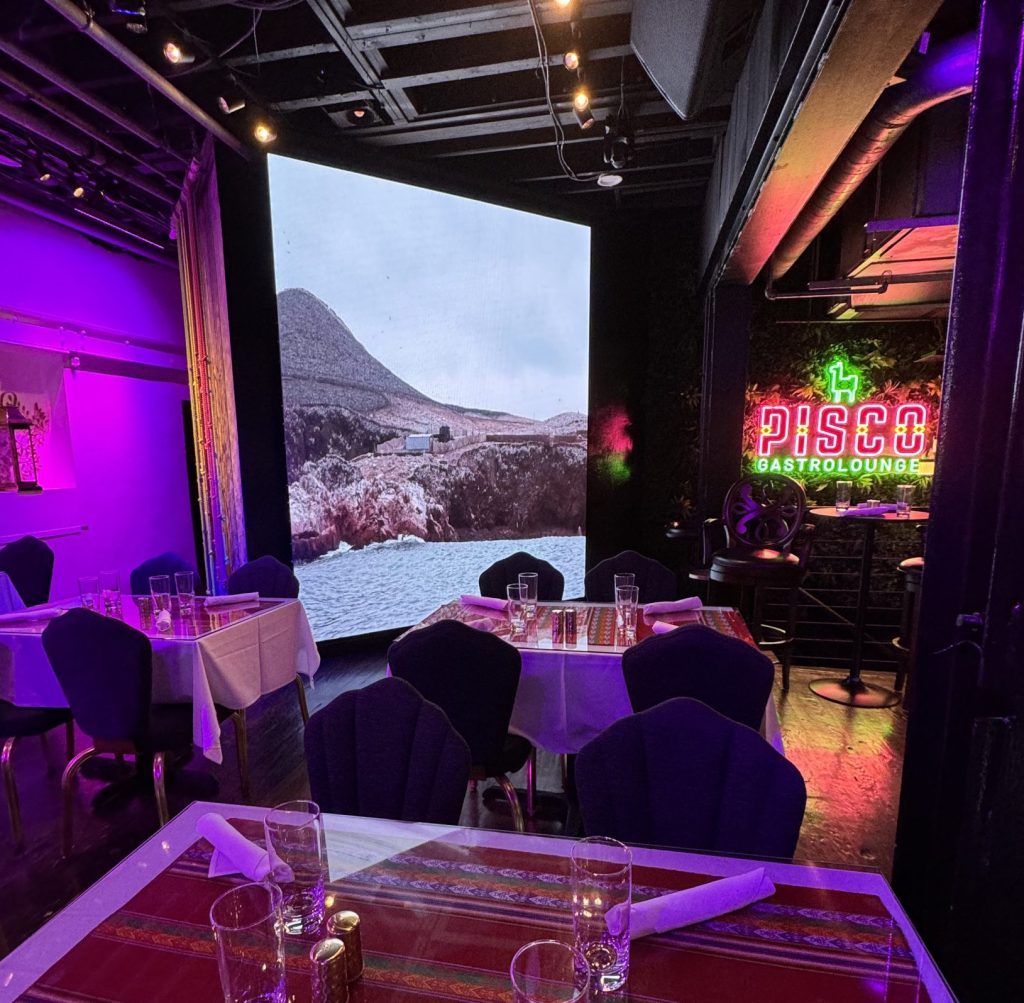
Hanging a video wall can be an impressive way to display content in various settings, whether it’s for commercial purposes, exhibitions, events, or even at home for a personal theater experience. It involves careful planning, proper equipment, and precise execution to ensure a seamless and visually appealing installation. 

Here’s a step-by-step guide on how to hang a video wall:

1. Determine the Purpose and Space:

Start by clarifying your objectives for the video wall installation. Understand the purpose it will serve, the content you’ll display, and the location where it will be placed. Consider factors such as lighting conditions, available wall space, and viewing angles to optimize the overall viewing experience.

2. Select the Video Wall Configuration:

Decide on the video wall configuration that suits your needs. There are various options, including a single large screen, a grid of multiple screens, or a curved arrangement. Consider the aspect ratio, resolution, and screen size of each display unit to ensure compatibility and a visually pleasing outcome.

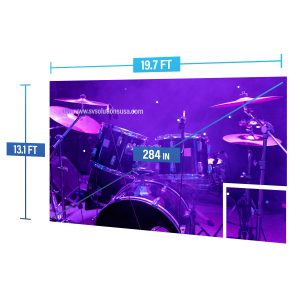
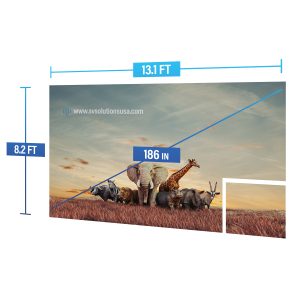
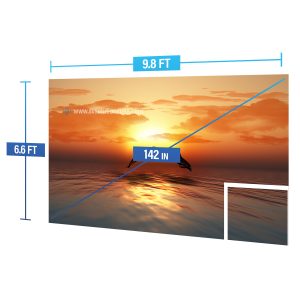
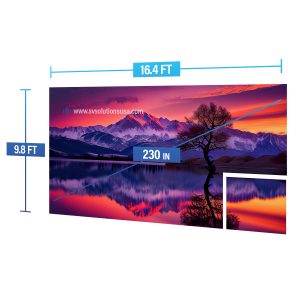
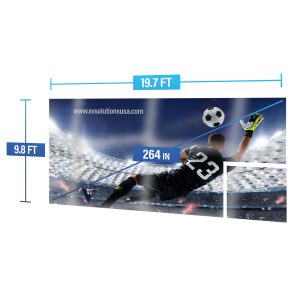
3. Calculate the Total Dimensions:

LED-wall-installation
Measure the total dimensions of the video wall you intend to install. This will help you determine the exact placement and positioning of the displays. Take into account the bezel width (the frame around each screen) and the necessary gaps between the screens for a seamless display.

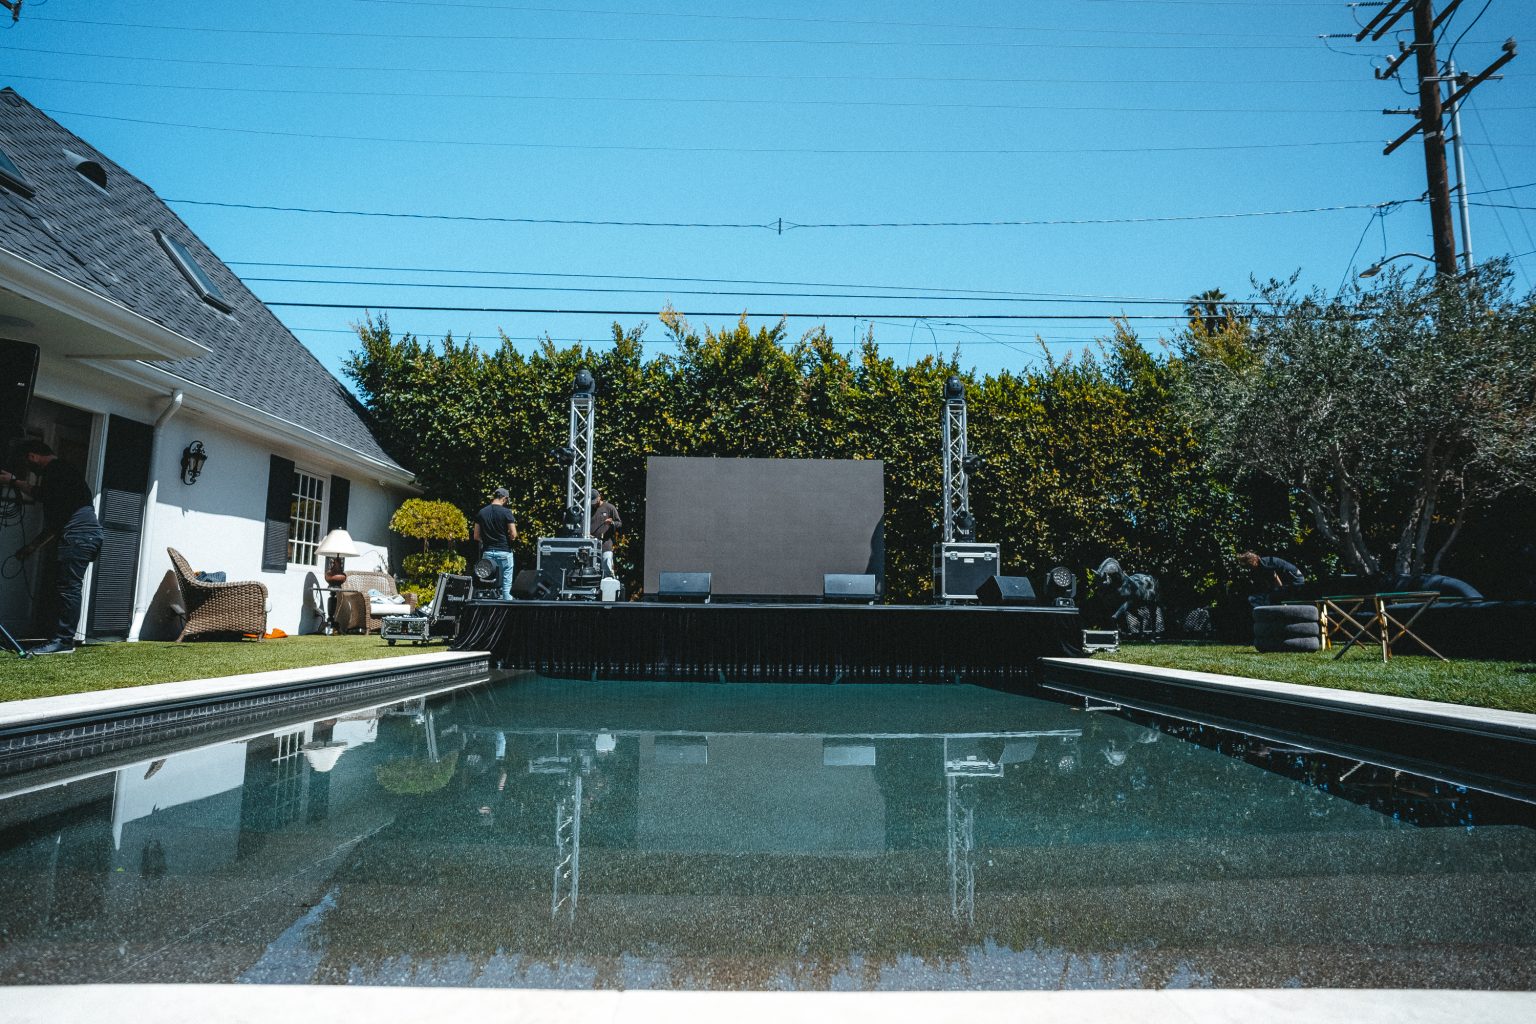
4. Plan the Mounting Structure:

Based on the dimensions of the video wall, plan the mounting structure that will hold the displays securely. Consider factors like the weight-bearing capacity of the wall, the type of wall material, and any specific structural considerations. Consult a professional if you’re unsure about the feasibility or safety of the installation.

5. Choose the Right Mounting System:

Select a suitable mounting system based on your video wall configuration and the mounting structure you’ve planned. There are different types available, such as wall mounts, ceiling mounts, or floor stands. Ensure that the chosen system provides the necessary flexibility for adjusting screen angles and alignment.

6. Prepare the Wall:

Before installation, prepare the wall by ensuring it’s clean, flat, and free from any obstructions. Remove any existing fixtures, such as artwork or shelves, and patch up any holes or imperfections on the wall surface. This will provide a clean canvas for mounting the video wall.

7. Install the Mounting System:

Follow the manufacturer’s instructions to install the chosen mounting system. Use appropriate tools, such as a drill, level, and measuring tape, to ensure precise alignment and positioning. Double-check the stability and firmness of the mounts before proceeding to attach the displays.

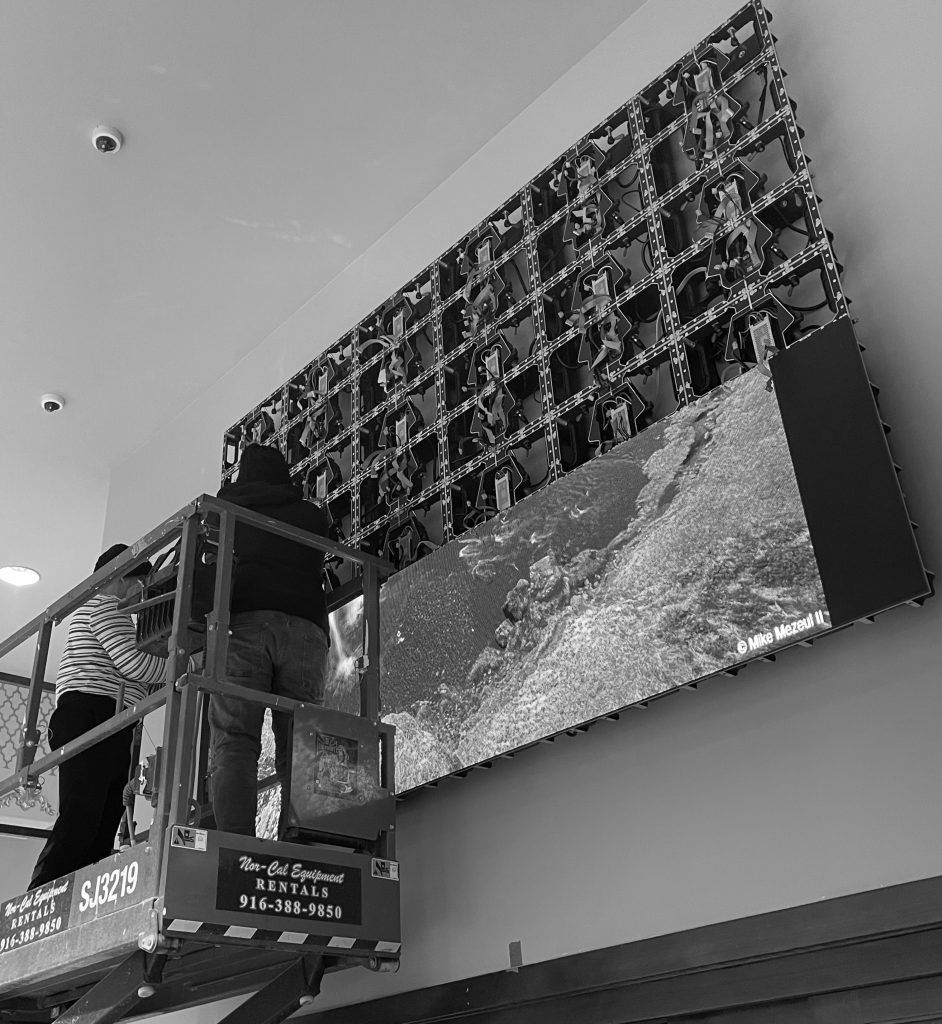
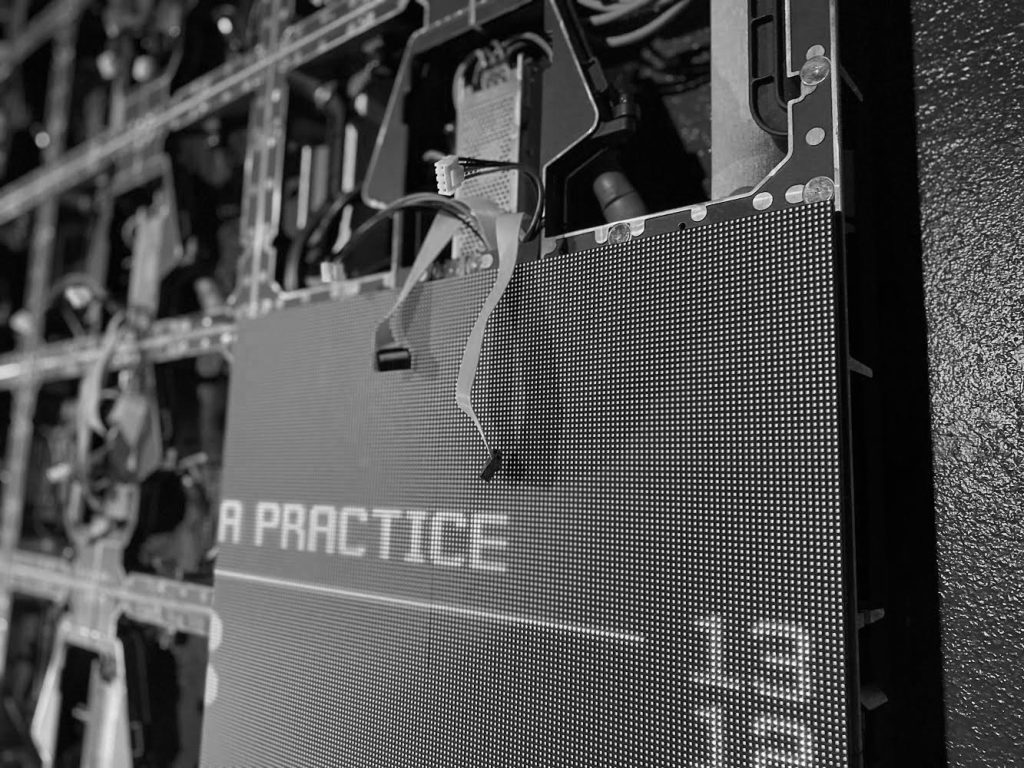
8. Mount the Displays:

Carefully mount each display onto the mounting system according to the manufacturer’s guidelines. Ensure that the screens are level, aligned correctly, and securely attached. Use the recommended brackets, screws, or clips to fasten the displays to the mounts.

9. Connect the Displays:

Once all the displays are mounted, connect them to the video source or control system using the necessary cables. Ensure that the cables are properly organized and hidden from view, either by routing them through cable management systems or concealing them behind the video wall.

10. Test and Fine-Tune:

Power on the video wall and test each display to ensure they are functioning correctly and displaying the desired content. Adjust the settings, such as brightness, contrast, and color calibration, to achieve a uniform and balanced visual output. Fine-tune the alignment and positioning of the displays if necessary.

11. Content and Control:

Finally, set up the content management system or control interface for the video wall. This may involve installing software, connecting to a media player, or configuring network settings. Ensure that the control system allows you to manage and update the content seamlessly.

Remember:

LED-screen-wall-mounting

Hanging a video wall can be a complex task, so it’s essential to seek professional assistance if you have limited experience or are unsure about any aspect of the installation process. By following these steps and considering the technical requirements, you’ll be able to create an impressive video wall that effectively captures attention and delivers an immersive visual experience. 

If you need extra help you can contact us at (866) 389-8595 and we will be happy to assist you.

LED wall solutions

thank you for participating in our giveaway!

We encourage you to watch our featured video on churchfront: